Saturday, January 29, 2011

Pepper Vodka and Russia's Revenge

Apparently I am on a super easy recipe kick because this one is also about as easy as it can get, but oh, so worth it. (On second thought, is infusing vodka considered a recipe?)

One of my best friends had a firefighter themed 21st birthday and I bought her a bottle of Absolut Peppar to celebrate with. We made shots out of it and Kahlua that were pretty much amazing, but there was no way we could have downed the vodka straight. When they make it pepper flavored, they go all the way.
Being me, I wondered how they infuse these flavors into vodkas. As it turns out, it's a fairly simple process, at least for the home cook.

Step 1, as always, is gather ingredients. One bottle of average vodka (who doesn't love a good quality bottle like Smirnoff?), one airtight bottle large enough to hold the vodka (lucky you if they're on sale at the store you work at), and three peppers: a serrano, a habanero and a jalapeno.


Cut each pepper in half and remove the seeds. Save only the seedless half. You could use the other half for something else, like salsa or enchilada soup. Yum.

Pour the vodka into the bottle and add the peppers. I only used about 3/4 of the bottle of the vodka. Some drinks just won't work with pepper vodka. Sad, but true. And I had to cut my peppers into slices so they would fit through the neck of the bottle. Not a problem.

Seal the top and swirl the bottle to thoroughly mix the peppers and the vodka. Let it sit in a cold, dark place for 3-5 days. Once (or twice, if you're antsy like me) a day swirl the bottle around again to continue the mixing. The longer you wait, the more peppery the vodka will be, but don't wait longer than 5 days.

When it's ready, pour the contents out into a large enough container and remove the peppers. If pepper pieces are left in the vodka, strain through a piece of cheesecloth or a coffee filter and the pour back into the bottle. My vodka took on a really cool green tint from the peppers.

Now pour yourself a nice wine glass (don't judge) of spicy Bloody Mary with your pepper vodka. I don't have a cool Bloody Mary recipe, but I do have another recipe! No pictures though. Sorry.

Russia's Revenge
2 oz pepper vodka
1 oz Kahlua
Milk (or light cream, if you want to be legit)

1. Pour the pepper vodka and kahlua over ice in a rocks glass.
2. Fill the rest of the glass with milk.
3. Feel the burn.
I lied about the picture. This is what it'll look like. Perfection.

Saturday, January 22, 2011

Chicken & Dumplings

Growing up, my mom usually did all the cooking. If it was my dad's night to cook, our options were limited to pizza, mac and cheese, or chicken and dumplings. I love chicken and dumplings more than any other meal. If I were going to die and was given a last meal, this would be it... except for maybe the world's most perfectly cooked steak, but I don't have a recipe for that ...yet.

I once made the mistake of ordering chicken and dumplings at Cracker Barrel. This was a very bad idea. As it turns out, there are two different recipes: southern chicken and dumplings, like Cracker Barrel makes, and northern chicken and dumplings, like my dad made. Northern is the way to go.

Switching gears a little bit: I went out drinking with a friend the other night at a club where he works. A week night. As soon as I woke up the next morning to head to work, I regretted the third, and fourth, martini. I felt awful all day. Serves me right. When I got home, I knew the only thing I wanted to eat was chicken and dumplings, the world's most perfect hangover meal. Plus it's freezing cold again this week and this is classic cold weather food.

This is the easiest recipe in the whole world. I promise.

First, as always, gather ingredients. Bisquick, a can of cream of chicken soup, a can of chicken (any size you'd like), a cup of chicken broth, and milk. I decided this would also be a good time to show off my new wine glass...full of Dr. Pepper. You can't tell, but it has a faint white spiral around the whole glass. I'm in love with it, even if the sound of putting wine in it still makes me cringe.


Pour the chicken broth, the cream of chicken soup and the can of chicken into a medium sized pot and bring to a boil.


Meanwhile, mix together the bisquick and milk. Also, invest in some mixing bowls.


Drop the dough into the boiling soup mixture by spoonfuls. Try to evenly space them out in the pot, but don't worry when they crowd.. because they will. Cook for 10 minutes then cover and cook for 10 more. This is the hardest part because the kitchen will smell AMAZING, but be patient.


When it's ready, it will look awful, but have some faith. So delicious.


Scoop out a lot into a bowl, cover with salt and pepper and devour. You will not regret it. In fact, you'll love it so much that you'll make some for your friends and then they will love it and nickname it something disgusting like Chicken & Dumps and ask you to make it all the time. I swear.


Chicken & Dumplings
1 can chicken broth
1 can cream of chicken soup
1 can chicken
2 1/4 cups Bisquick
2/3 cup milk

1. Pour the broth, cream of chicken soup and chicken into a pot and bring to a boil.
2. Mix together the bisquick and the milk until it forms a dough.
3. Drop the dough by spoonfuls into the boiling soup.
4. Cook for 10 minutes, cover and cook for 10 more minutes.
5. Ladle in a bowl, cover with salt and pepper and enjoy. :)

Easiest recipe ever. Also easy to double, or triple, like my family always had to. One bowl is never enough.

In case you can't remember this recipe (and then I might be worried about you) it's on the Bisquick box! Clearly Bisquick understands that northern chicken and dumplings is the way to go.


PS. After a BIG helping of Chicken and Dumplings and a good night's sleep, I'm feeling much better. :)

Sunday, January 16, 2011

Big Blank Walls

So you have a big blank wall and you're not sure what to do with it. Welcome to my life.

I was recently told that January brings the biggest business for home decor stores. After taking down holiday decorations everyone seems to believe their home is now empty and needs a painting or silk plant.
I completely understand this feeling. In my parents home we have a very large stone fireplace and two years ago we built a portable mantle for it, just to display Christmas decorations and hang stockings. Come January, we'd take it down.. and then realize just how large and empty the stone fireplace looks. Ever since then we've been on the lookout for a equally large clock to hang on the stone.
The same thing is happening in my apartment right now. Almost as soon as we moved in I put up a little Christmas tree next to our television. Now that I've thrown out the tree, it's become very obvious that we have nothing on that wall and the roommate and I are debating what to do with it. We also have another large wall over our couch that needs... something.
I decided to do some research and I'll share my discoveries with you.
This will only be a small fraction of the options out there, but maybe one will work in your space.

Artwork - Art always seems to be the go-to wall cover. There's nothing wrong with that idea. It's tried and true. Find a large painting that suits your style, space and budget and live happily ever after together.


Frames - The other wall cover standard. There are a million options here as well. They could be filled with photos or paintings or certificates or anything else your heart desires. I would suggest either keeping all the frames similar, like the picture on the left, or completely different, like the one on the right. The goal is to make it look like it was planned and not just an accident.

Shelving - Shelves are great because they can hold almost anything. This is a nice way to combine frames and art and maybe books and a plant or two. There are tons of shelving styles out there to choose from ranging from very modern to very traditional. The key here is restraint. As you can see in this picture, just because there is space on the shelves doesn't mean it needs to be filled with something. Empty space speaks just as loudly as filled space.

This is where I'll start to get into the more unique options.


Vinyl Wall Stickers -  I personally love this new trend. They're so affordable, easily removable and transportable. There are countless options in all shapes and sizes and if you can't find the perfect graphic, there are companies that will create one just for you. Talk about unique!


Letters - Maybe you're a writer, or a reader, or just someone who loves the bold graphics of the alphabet. The letters could spell something, although I'm not a big fan of the self-help-esque "Live Laugh Love" trend going on now, or they could just be a collection of letters. 

Salvaged Doors, Windows and Shutters - While this option won't fit every style, when it does, it's a match made in heaven. Salvage yards and antique dealers always have a large selection of this kind of art (yes, in this case I consider them art). It might take a little effort to find the perfect piece and then clean it up, but it would be well worth it.


Collections - Maybe you have a collection of something worth showing off, like in the case of this picture, a few beautiful George Nelson clocks. (insert dreamy sigh.) However before showing off your prized collection of kitten plates like Umbridge from Harry Potter...  
...maybe it'd be best to get a few trusted opinions first. Just to be on the safe side.

Graffiti - If you're looking to make a bold, urban statement, I can think of no better way than a whole wall of graffiti. Again, this won't suit everyone's taste, but when it does, it would be magnificent. Finding a true graffiti artist might be a bit of a challenge since every kid with a can of spray paint thinks he's an urban Picasso but when you find one, like my friend Mike, they would do wonders with a blank wall.

Ceiling Medallions - I'm 85% sure that these beautiful yellow circles were intended to be ceiling medallions, plates that attach to the ceiling above lights or fans. They come in many shapes and sizes and can be painted to match any decor. This is turning an everyday object into art at its finest.


Animal Head - I couldn't help but include this one in my list. If you're stumped on how to redecorate your hunting lodge, look no further. An animal head is the clear way to go.


Maybe my roommate and I will eventually decide on what to put over our couch, but I don't think an animal head will be it.
This barely scratches the surface of wall decor and if you've got other interesting wall art ideas, I'd love to hear them!

Monday, January 10, 2011

Knitting: Before the Basics

Today was my very first snow day! Hello, winter!
Being a Florida girl, I'm very used to hurricane days, but I've never experienced a snow day before. Let me tell you, it beats a hurricane day by a lot. When I'm trapped inside, there's only one logical thing to do: knit.
As anyone who knows me can tell you, I have one true love. Knitting.
Go ahead and snicker about a young woman being a grandma for loving to knit, but based on the number of people my age who ask me to teach them how, I think it's quite alright that I knit.

When people ask how I learned to knit, they always seem shocked by my answer: I learned on the internet. http://www.knittinghelp.com/ to be exact. It's the most amazing website ever. If you have any desire to learn, that site can teach you. (There are lots of other great sites out there. This is just my favorite.)
When I was learning, in all of my research, there was always something missing. I never knew what tools I needed. Walk into any craft store and there are aisles and aisles of yarn and dozens of options of needles. It can be overwhelming. Before you can learn to knit, you've got to have the right tools.

For the beginning knitter there are only two required tools: Needles and yarn.
I'll start with needles.

Knitting Needles
Needles come in different sizes and different materials. Sizes are standard and the average ones range from US 0 to US 15. There are larger and smaller, but 0 to 15 is the normal range.
US 0 is the small end of the scale and they increase in 0.5 mm increments. (This picture is NOT to scale.) Needle sizes frequently correspond to yarn sizes. Thinner yarns knit well with smaller needles while bulkier yarns knit better with larger needles. A knitting pattern should tell you what size needle, and what kind of yarn, to use.

Once you know what size needle you need, there are several needle materials to choose from, each with pros and cons.

Plastic Needles
Plastic knitting needles are the most widely available and the least expensive. They can come in fun colors and are very lightweight. Some have a metal core running through them to strengthen them. They are very flexible and therefore can warp over time. Plastic needles are also the most likely to break, especially the thinner ones.
Metal Needles
Metal needles' true advantage lies in their ability to slide yarn easily lending to faster knitting. They are very widely available and are virtually indestructible. However, they are constantly cold to the touch and create that classic knitting clicking sound. (I am not a metal needle fan.)

Bamboo Needles
Bamboo needles are by far my favorite. They are lightweight, very quiet and much warmer than other needles. The bamboo creates a friction that doesn't allow for the speediest of knitting, but it hold stitches on the needles better and helps prevent dropped stitches. They are significantly more expensive than plastic or metal needles, but they are so worth it.
Hello, beautiful.
I recently saw a set of rosewood needles and immediately wanted them. They're so beautiful and elegant. Ah, someday.

Those are all the major knitting needle materials. Now, onto yarns.

Yarn
There are many, many variations on yarn basics, so I'll try to cover the main points. Like needles, yarn comes in basic sizes, or weights as they call them.
The symbol to the left is the standard yarn weight. They range from 1, the finest, to 6, the bulkiest. Each weight has various names associated with it, the names in parentheses, but the typical names are the ones next to the symbol: Fine, Light, Medium and so on.
Like I mentioned earlier, needles and yarns correspond to each other, for example, size US 7 needles and yarn weight 4 are a common pairing. The two together create a nice balance. Using a very fine yarn, like a 2, with a thick needle, like US 13, would create a very loose knit that wouldn't hold its shape well.

This is to show how large the difference in the yarn weights can be. A weight is generally twice the thickness of the weight before it and half the thickness of the weight after it. I'm only showing weights 3, 4 and 5 because those are the weights I have in my stash. I don't knit with 1, 2 or 6. Just personal preference.

1: Super fine- This is the thinnest knitting yarn and is most frequently used to make baby items and therefore often sold in baby pastels. It's also used for some heavyweight lace patterns and socks. (Lace is typically made with even thinner yarn, not often considered a knitting yarn.)
2: Fine- This weight is also known as sport weight, not because of athletics but because of women's sportswear. This is an excellent sock yarn as well as lightweight wrap and shawl yarn.
3: Light/4: Medium- These two weights are often interchangeable and are known as worsted weight. It is the most widely available yarn and can be used in almost any project. It's the best yarn to learn to knit with, but is still great for all skill levels.
5: Bulky- This yarn is great for quickly knitting up projects. Scarves and throws are often knit in bulky weight for their warmth and speed. Larger needles are required for yarn this thick.
6: Super Bulky- The largest of all the yarns, super bulky knits up very quickly on large needles. Not intended for form-fitting pieces.

I won't get into yarn material because nearly every brand of yarn is composed of different fibers and percentages of those fibers. But there are several yarn types that do deserve discussing.

Novelty Yarns
Novelty yarns are a relatively new addition to the yarn world and are considered carrying yarns. They lack substance and are intended to be knit alongside another yarn, carried along, hence the name. I DO NOT encourage new knitters to attempt these yarns.
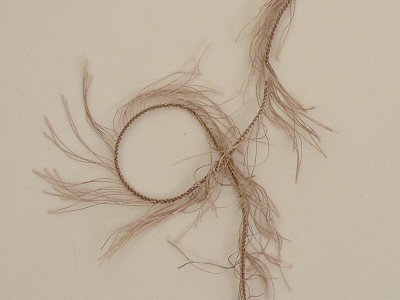
Eyelash Yarn


Ladder Yarn


PomPom Yarn

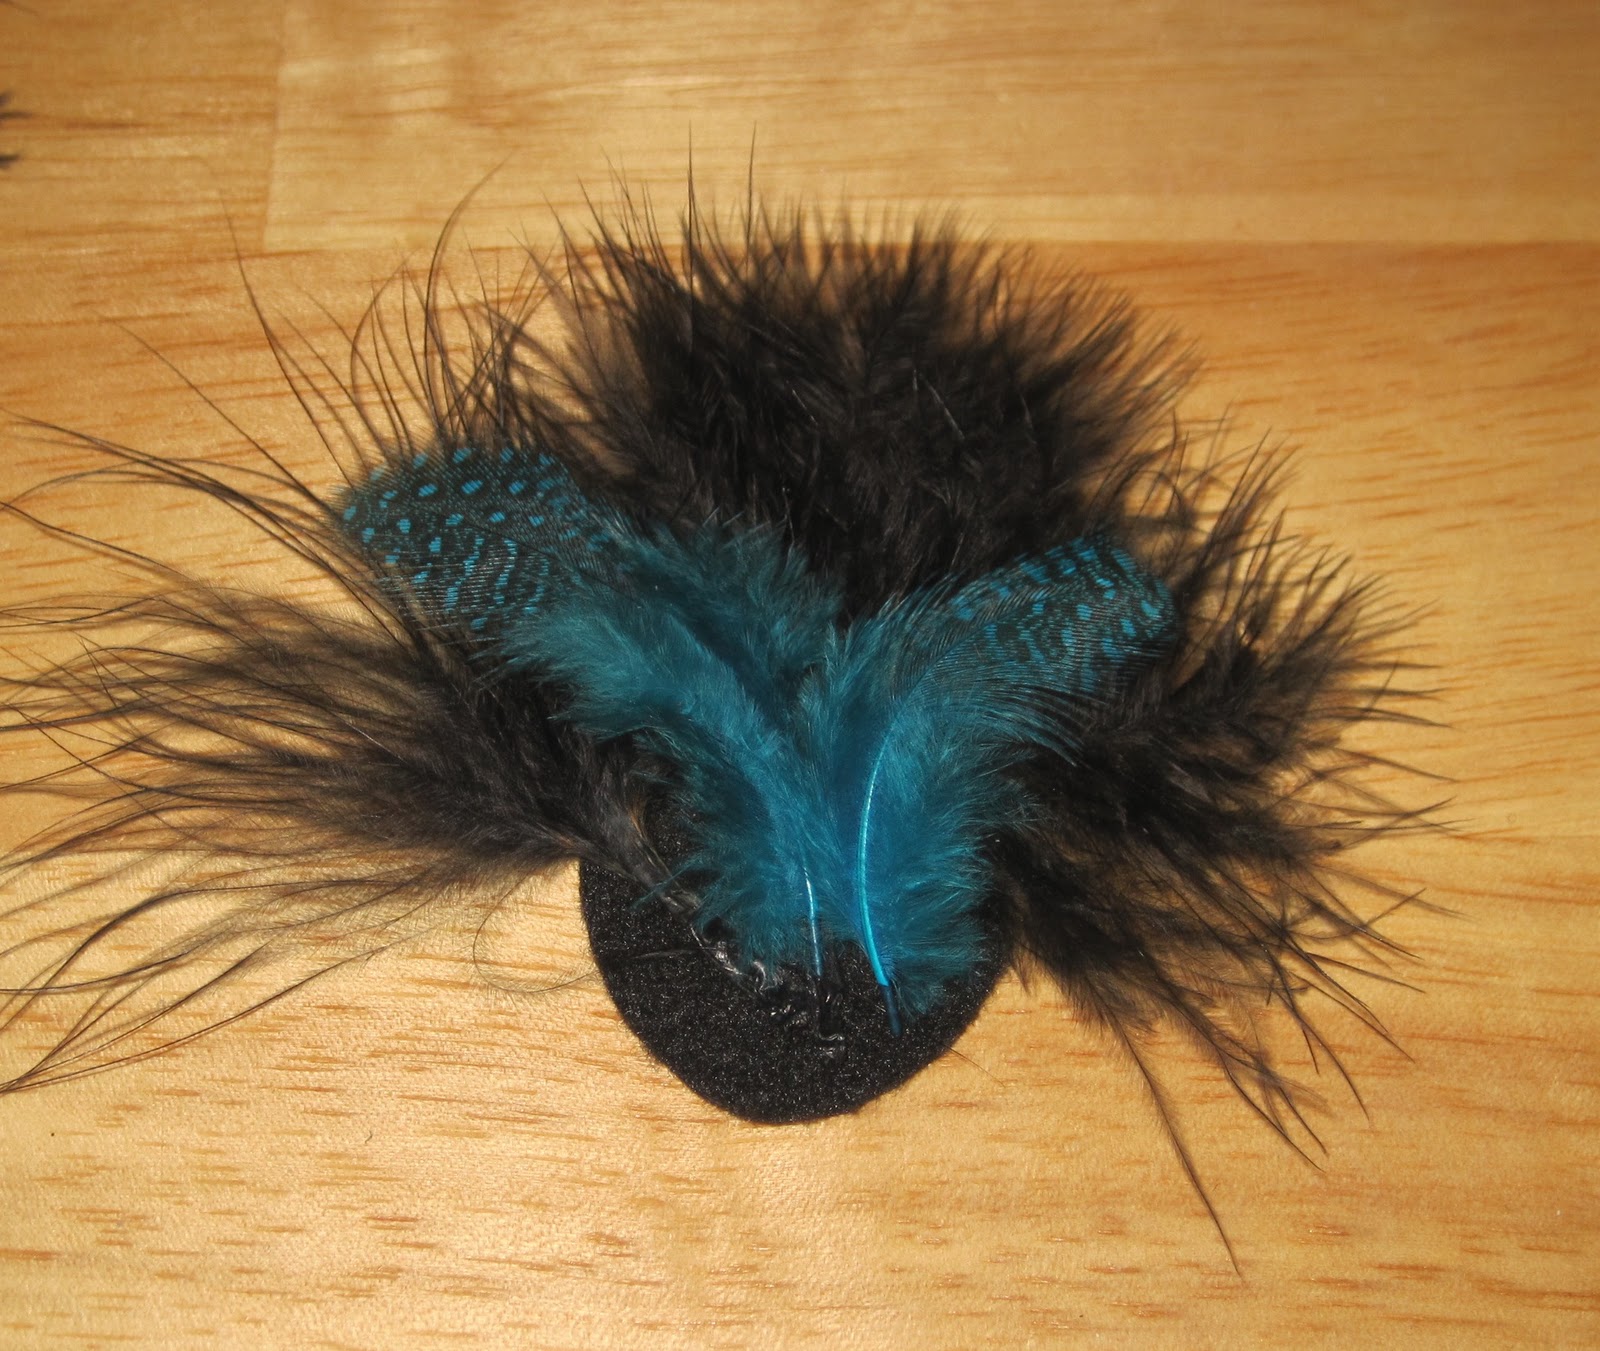
Boucle' Yarn is not considered a novelty yarn. It knits up beautifully by itself, but I still don't encourage it for new knitters. The loose fibers can trip up even experienced knitters.
Boucle' Yarn


For most beginning knitters, I'd suggest a good old skein of worsted weight yarn, like this, in a light color. The weight is a good medium weight to learn on and the color will make it easy to see each stitch.   


So there you have it: Knitting Needles and Yarn.
Let's recap.
- There are many needle sizes and the size depends on the project and the yarn weight.
- There are several needle materials and which one to use is personal preference.
- There are 6 yarn weights, each with their own use.
- Wait to use to the novelty yarns until you're fairly confident with regular yarns.
- HAVE FUN WITH IT. Knitting is a relaxing pastime, not a chore. Keep that in mind.

Tuesday, January 4, 2011

Feather Headbands

Happy New Year!
2010 was a pretty great year and 2011 is looking even more awesome.
I hope your outlook is just as cheerful. :)

You know what makes any day more cheerful?
A great feather headband.

I'll admit, I jumped on the feather headband bandwagon just like everyone else. It may have taken me a little longer, but I'm 100% there now.
My two feather headband inspirations are Kenley Collins, from Project Runway, and Blair Waldorf, from Gossip Girl.
They are both fabulous girls who wear outrageous headbands and hair pieces all the time. I fell in love with Kenley's style on day one of Project Runway back in 2008. It was only recently that I started watching Gossip Girl and became fascinated with Blair's headbands, even though Blair's been rocking the bows since 2007.

To make my own feather headband I spent an afternoon at the craft store searching though feathers until I found the right ones. I am currently obsessed with aqua, and I am always obsessed with polka dots, so when I found these feathers, it was love at first sight.
I sorted through the feathers and picked out my favorites. I narrowed down my options and chose several that were evenly sized and shaped. I saved the rest for a later project.

It doesn't take much to make a feather headband, but when it comes to what goes on it, the sky's the limit. I stuck with feathers and a satin ribbon, but I've seen headbands with tulle and pearls and rhinestones and beads. Never all at once though. That might be too much. But maybe not. Prove me wrong.

Things I needed
-A headband. I bought a little black one from Sally's, but anything would work.
-Feathers. I chose black to go with my blue polka dot feathers. The blue ones are just fun and the black feathers will help anchor the blue ones.
-Two little circles of felt to attach the feathers to. Mine are about an inch across. They need to be big enough to attach the feathers to, but small enough that the feathers will hide them. Any little piece of felt will do, but it might show, so I'd coordinate with the color of your feathers.
-Satin ribbon. Like I said, I'm obsessed with aqua, so any chance to use more aqua is okay with me.
-Mighty Mendit. My mom swears by it and so did Billy Mays. Who am I to say otherwise? A hot glue gun would work too, but since feathers are so delicate, you might end up burning your fingers in the process. I would.

I started laying out my feathers in various arrangements until I found one I liked. I layered the black and blue and then alternated them and then did one color on one half and the other on the other half. I didn't glue anything to the felt circle until I was sure I liked it. I even took a snack break to make sure I still liked the arrangement when I came back.

This is the design I finally settled on. I glued everything onto the felt circle making sure I hid as much of the felt as possible. And then I had to let it dry. Hello episode of Gossip Girl.

And then I glued my aqua bow on.
To make my bow, I made two loops of ribbon, one slightly longer than the other and layered them. Then I cut another length for the part that hangs down and glued it behind both the loops. I wrapped a small piece of ribbon around the three pieces and then messed with the part that hangs down until I liked the way it looked. I pinned it all together with a clothespin until it dried (thanks Mighty Mendit) and then glued the whole bow to the feathers.
There are a million bow-making tutorials on the internet though and I suggest searching until you find the perfect bow for you.

How high or low the feather piece goes on the headband is very subjective. I decided on mine by just holding it up to my head and moving it up and down until I liked the way it looked.
To attach the whole felt/feather/bow piece to the headband, I sandwiched the headband between the felt with the feathers and the other circle of felt. (There were two, remember?) Put glue on both circles of felt and trap the headband in the middle of them. The extra felt circle hold everything together and helps to reinforce the feathers. There's nothing worse than droopy feathers!

Until next time, stay cheerful. :)