Sunday, February 19, 2012

Blooming Books

When I moved into my new apartment a few months ago, I really wanted my bedroom decor to be focused and intentional rather than a hodge-podge of stuff I already had.
I wanted to incorporate my existing bedding because I absolutely love it. It's pink and white striped Ralph Lauren sheets with a green Ralph Lauren blanket. It's so very me. (and apparently very Ralph Lauren too...) I bought some new white bedroom furniture online and switched out the white pulls for some dark bronze ones that help make the pieces look less mass-produced. I painted two of my walls a dark gray and hung a white shelf over my headboard.

(Try to ignore the cord to my very stylish IKEA light...)

And that's where I got stuck. I knew I needed something on that shelf, but I wanted something great, so I was patient until inspiration stuck.

Inspiration came to me in the form of this beautiful piece of art by Mandy Lynne:
I love everything about this photograph. I love that the flowers and stems are a perfect color match to my bedding. I love the old books. I'm a huge book collector and I especially love older editions. I like the use of pretty papers to personalize the look. I just love it and I decided it would be perfect for my shelf. I did considering just purchasing the artwork and setting the framed piece on the shelf, but I couldn't find it at a large enough scale to look appropriate. So instead, I decided to create my own version of it.

I already had a few books to choose from but I added a few extra from a thrift store because I liked that the inspiration photo had pretty colored books.

The Nancy Drew books were a gift from my aunt years ago. I have eight of them in a variety of pretty colors. Since I've read them a hundred times and I won't be doing any damage to them, I thought they'd be perfect for this. Added to some thrift store books and some more old books from a family friend, I made a nice stack.

A trip to Michaels helped in my hunt for pretty papers that matched the delicate, feminine look I was going for.
So pretty.

While I was at Michaels, I also grabbed the necessary items for the flower vase... but I didn't take any pictures of that process because it consisted of 1.Cut stems and 2. Place flowers in jar. Not rocket science.

To wrap the books in paper, I cut a piece just large enough to wrap the spine and cover the spine's writing with a little left over to hold it in place.


I didn't want to use any tape or glue at the risk of damaging the books, so I relied on the pressure of the stack of books to hold the paper in place.

I used a larger piece of paper on the second-to-top book since the top book is so much smaller. It gives the impression that all the books below are wrapped in a similar fashion. I chose to leave the two oldest books unwrapped because I like the variety and the titles are worn off anyway. (The top green one is Vanity Fair and the lower blue one is Gulliver's Travels.)
A strip of bandage stolen from our first aid kit and my book stack is complete.


My proportions are a little different then the original artwork, but that's creative license at work. And while I wish that cord was gone, I'd like to think the flowers help distract you from it. I think I achieved what I was looking for. I really like it and that was my goal.

Friday, February 10, 2012

Pantone's Color of the Year 2012

Last year, I posted about Pantone's Color of the Year for 2011, Honeysuckle, a color I love.
I'll admit I don't love this year's color quite as much, but it's certainly inviting and envigorating.

Leatrice Eiseman, the executive direction of the Pantone Color Institute says this about the color: “Sophisticated but at the same time dramatic and seductive, Tangerine Tango is an orange with a lot of depth to it. Reminiscent of the radiant shadings of a sunset, Tangerine Tango marries the vivaciousness and adrenaline rush of red with the friendliness and warmth of yellow, to form a high-visibility, magnetic hue that emanates heat and energy.”


From home decor and accessories to cosmetics to fashion, this color will be everywhere this year. Pantone calls it "a bit exotic, but in a very friendly, non-threatening way." Even though you won't see me sporting any tangerine eyeshadows, I might consider working a cute top into my wardrobe.


No inspiration collection would be complete without an owl. It's science.


Tangerine Tango is supposed to give us "the energy boost we need to recharge and move forward". A little political subliminal messaging from Pantone here in election year? I doubt it. More like not-so-subliminal messaging that tangerine is a color that can easily transition from early spring through summer and well into the fall season. That's a message we can all support.


Friday, January 13, 2012

Half Marathon Excitement!

The Disney Princess Half Marathon is about 6 weeks away and I am in hardcore training mode.  Granted, hardcore for me still isn't really that hardcore, but I'm trying here. I am truly getting excited though, and as any of my friends will tell you, when I get excited about something, it will completely take over my life. Luckily for you lovely blog readers, this time it means crafts related to my race and not a marathon training guide.

One of the ways I keep myself motivated to train is by checking the countdown on the Princess Half Marathon site. I know that as the days tick down, my runs need to be getting longer and my times need to be getting shorter. When I saw this Chalkboard Countdown on Pinterest, I knew I had to make one for myself.
the original website Pinterest links to
I LOVE countdowns anyway. They're constantly my Facebook status. Days left until friends come to visit: 7. Days left until my next work vacation: 135. (wow, that's depressing.) Days left until my birthday: 245. I could go on, but I won't.

After I decided to make myself a chalkboard countdown and I needed a board to start with, I headed straight to Goodwill.
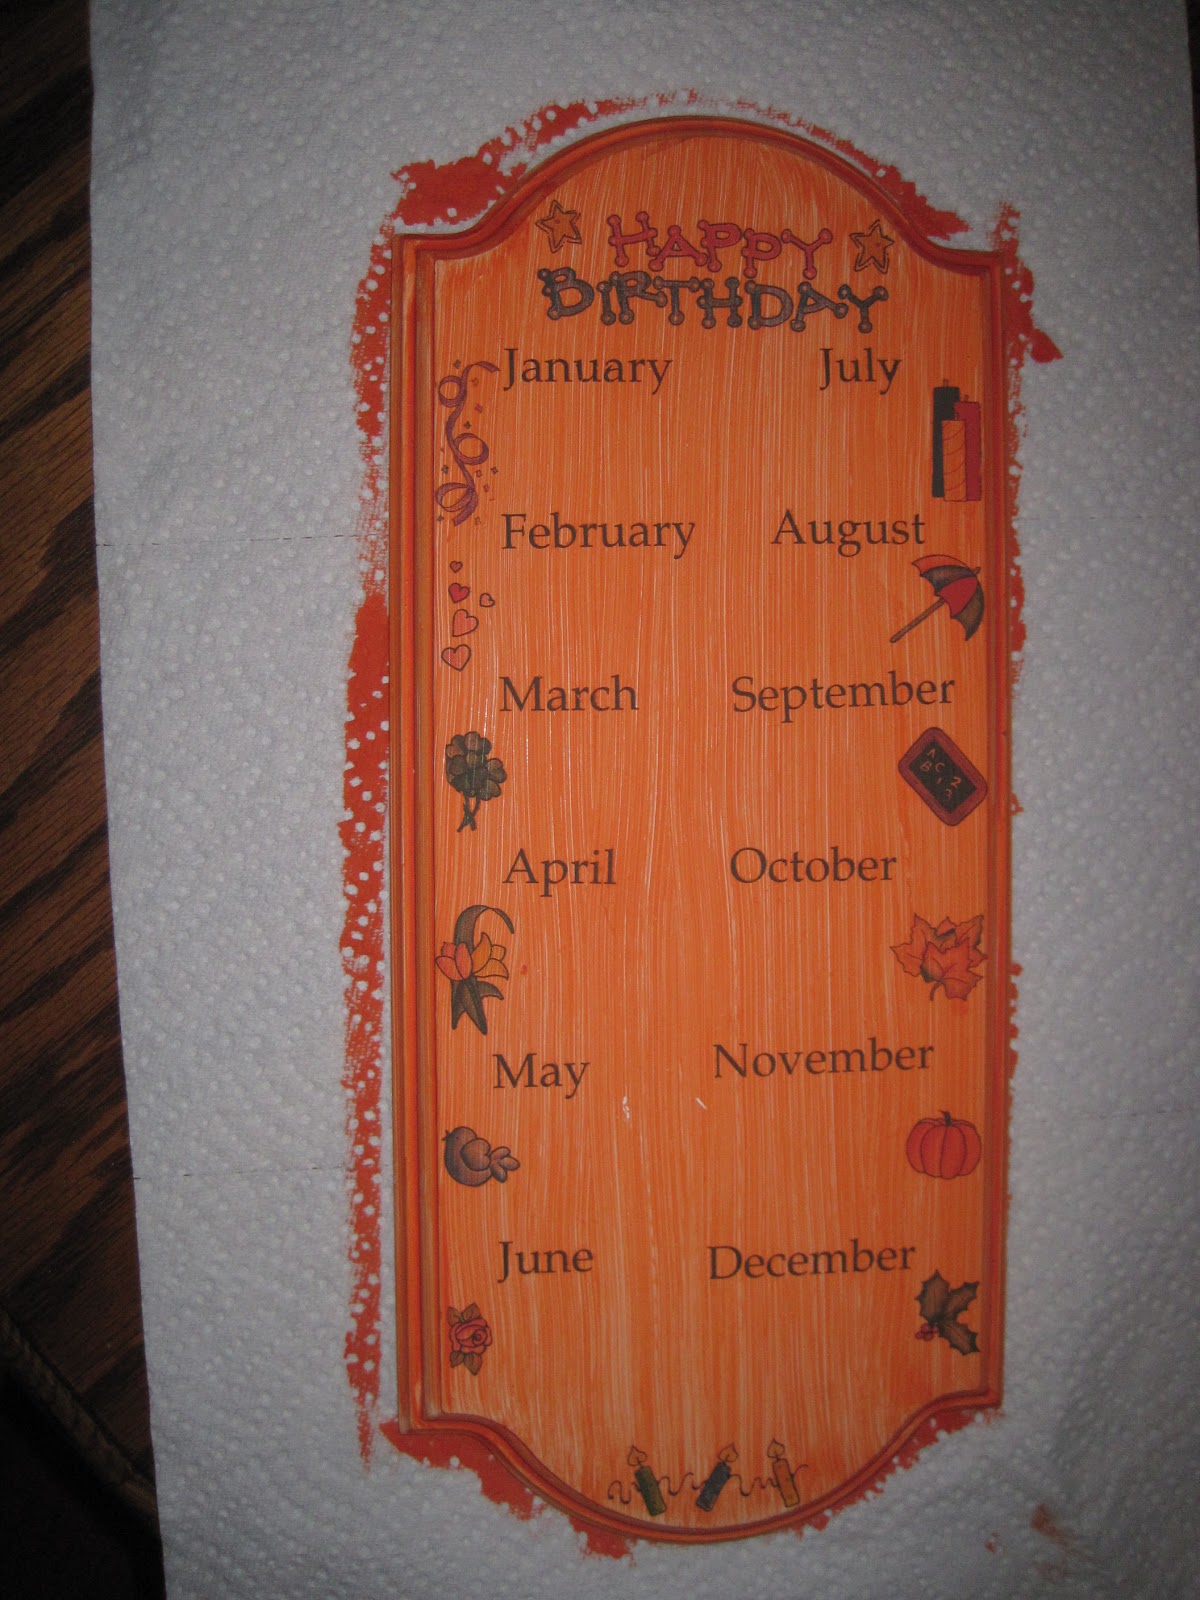
I found this gem for $1.21. (I also grabbed a board game for $1.51. Score!) I'm not even sure how it was supposed to work as a birthday calendar thing, but I liked the shape of it.

Following Martha Stewart's directions, I needed paint and unsanded grout. I actually already had both in my crafting arsenal, but if you don't, unsanded grout is easy to find at a hardware or craft store.

Before mixing up the chalkboard paint, I painted the birthday board with a coat of regular paint to help cover.


The directions I found were for gallons worth of paint, so, as usual, I winged it. It called for a lot of paint to a little unsanded grout, so that's what I used. I mixed it up until the grout blended with the paint and became paintable (is that a word?) again.


I painted several coats onto the board to make sure there was good coverage.

I could still kinda see the original designs, so I added a few more coats. (Sure, I could've sanded that off in the beginning, but that would have been too easy.)


After it was painted perfectly, I covered the whole thing with a coat of chalk to condition it.


And then wiped it off with a slightly damp cloth.


I liked the lettering on the original chalkboard and how it was clearly not just a chalkboard, but was specifically a countdown chalkboard, so I definitely wanted that on mine too.


I found some great letters, started in the middle and built the words out from there.


That's pretty centered.
So now it's ready to countdown!


I propped mine up in my bookcase and started my countdown...
41 DAYS LEFT!

But that's not all!
(Cue the infomercial music...)

One of the big parts of the Princess Half Marathon is the costumes. Thousands of women (and a few men) dress up in crazy costumes to run this race. Everything from just a tiara or tutu to full princess ballgowns. I have NO idea how anyone could run so far in something like that! I don't want anything to slow me down (I'll be slow enough on my own) so I decided that a big bow in my hair would be plenty costumey, but it would have to be a pretty great bow, so of course I made it, thanks to some great videos from youtube.


My running top is aqua colored and both Cinderella and Kappa's colors are shades of blue, so choosing colors was easy.  I also happened to find this great grosgrain bow on the sale rack at Michaels. The bow isn't quite right, but once I snipped the thread holding it together, it was yards of great ribbon at a much better price than buying a new spool of ribbon. I love a good deal.

Since videos can explain how to make these bows much better than I can with pictures, I'll link to Youtube videos explaining each part of the bow.


Topped with two Surround-A-Bows (skip to 1:45 in this video)

Topped with a modified Classic Boutique Bow (Just watch this whole video. It's great.)

Topped with a smaller, white Surround-A-Bow. (You don't need another link to the video, do you?)
FINALLY topped with another classic Boutique Bow. (Have you lost track of how many layers of bows there are? I have.)

I hot-glued each layer together and then hot-glued a barrette to the back to ensure that it won't fall out on race day.

Now that I've got a great bow for my hair and a countdown chalkboard to keep me on track, all I have left to do to get ready for the race is actually train.... That sounds awful.

Thursday, January 5, 2012

Chicken Enchilada Stoup

That is not a typo, I meant to say Stoup.
Any fan of Rachael Ray will be able to tell you exactly what a Stoup is: it's halfway between a stew and a soup. And it's one delicious meal.
In college, lunch at Atlanta Bread Company used to be a weekly thing for my friend Rachel and me, and I'd always order their chicken enchilada soup. One day I come to find out they've stopped making it.. and what a sad day that was. The only possible way to continue living was to find a recipe and make it myself. I did some research and tested out some recipes and settled on this one that I love. It probably bears no resemblance to the original soup recipe by this point, but I don't care. This is good stoup.

Ingredients are, as usual, pretty simple. One cup each of chicken broth, cream of chicken soup and enchilada sauce (mild or medium, your choice. I go medium because I'm not a wuss.) Then cooked, shredded chicken, black beans, corn, onion and jalapenos, all in amounts to your liking. I add a lot of each of them which is probably why my soup is a stoup.

After you've chopped up the onions and jalapenos, sweat them a little in some oil. The original recipe called for them to be cooked for a while to be fairly soft, if I remember correctly, but I like the taste and texture of the raw veggies, so I typically only cook them for a few minutes.
Then add in all the liquids: the broth, the cream of chicken and the enchilada sauce. The cream of chicken soup will be thick, so let it cook a while to thin out and blend into the soup before adding the rest of the ingredients.


Finally add the chicken, the corn and the black beans. I never measure these ingredients, I just keep adding them to the pot until it looks good, but it's usually a few handfuls of each.
Then just let it cook on medium for 15 to 20 minutes to let all the flavors blend, stirring occasionally.

This makes a lot of stoup, so I'll eat a bowl (or two) and then portion the rest into containers and pop them in the fridge. They rarely last more than a day or two.

Best served with tortilla chips (hint of lime is my favorite) and a BIG margarita. Mmm.

Chicken Enchilada Stoup
1 large can of chicken (or any cooked, shredded chicken of an equal amount)
1 can of black beans, drained
1 small can of corn, drained
1 can of chicken enchilada sauce (mild or medium)
1 can condensed cream of chicken soup
1 cup of chicken broth
1/2 white onion, diced
3 jalapenos, seeded and diced

1. Sweat the onions and jalapenos in oil until they've reached a tenderness you prefer.
2. Add the enchilada sauce, cream of chicken soup and chicken broth and cook on medium, stirring until the cream of chicken soup has thinned out.
3. Add chicken, black beans and corn to taste.
4. Simmer the stoup, stirring occasionally, for 15 to 20 minutes or until flavors have blended.
5. Serve with chips and enjoy. :)

PS. HAPPY NEW YEAR!

Wednesday, December 28, 2011

How to Host a Family Olympics in 3 Easy Steps... Kinda.

I've wanted to have a family olympics for a long time, for no reason other than it looks fun. My family sportingly let themselves be subjected to my plans this year at Thanksgiving. I gathered a lot of knowledge which I will gladly pass along.

STEP 1: GATHER FAMILY
The most important part of a family olympics is FAMILY. Shocker, I know. And in this day and age, most families are pretty spread out. Getting everyone together isn't always easy. If your family already has a reunion, perfect, but if not, make one. Our family doesn't have a reunion and I hadn't seen some of my cousins in over ten years. (Isn't that sad?) A large group of our family gathers for Thanksgiving every year, so it seemed a logical time for the olympics. I basically emailed the rest of the family threatening to beg if they didn't agree to come. Luckily it didn't take much convincing and before long I had our entire family planning to attend Thanksgiving and therefore attending the family olympics. Step One complete. :)
Since this deserves a picture, here's part of my family, including the cousins that I hadn't seen in a decade and their children I'd never met:
That is one good looking family. (I'm still trying to figure out how to steal the littlest one in there. He's just so precious.)

STEP TWO: ORGANIZE GAMES
An Olympics requires games, obviously, but the games should be chosen after some serious thought. Know your competitors. For example, I know my family isn't very athletic, so a race would be out of the question. I know I planned on having the olympics immediately following Thanksgiving dinner, so that game where you spin around a bat and then try to hit a ball would only result in a projectile vomiting competition.
I chose 5 games for 5 rounds of competition.
A Puzzle Building Round

A Pumpkin Support Building Round
A Nail Hammering Round (to keep the dads involved)
A Pumpkin Bocce Round (which sadly there are no decent picture of...)
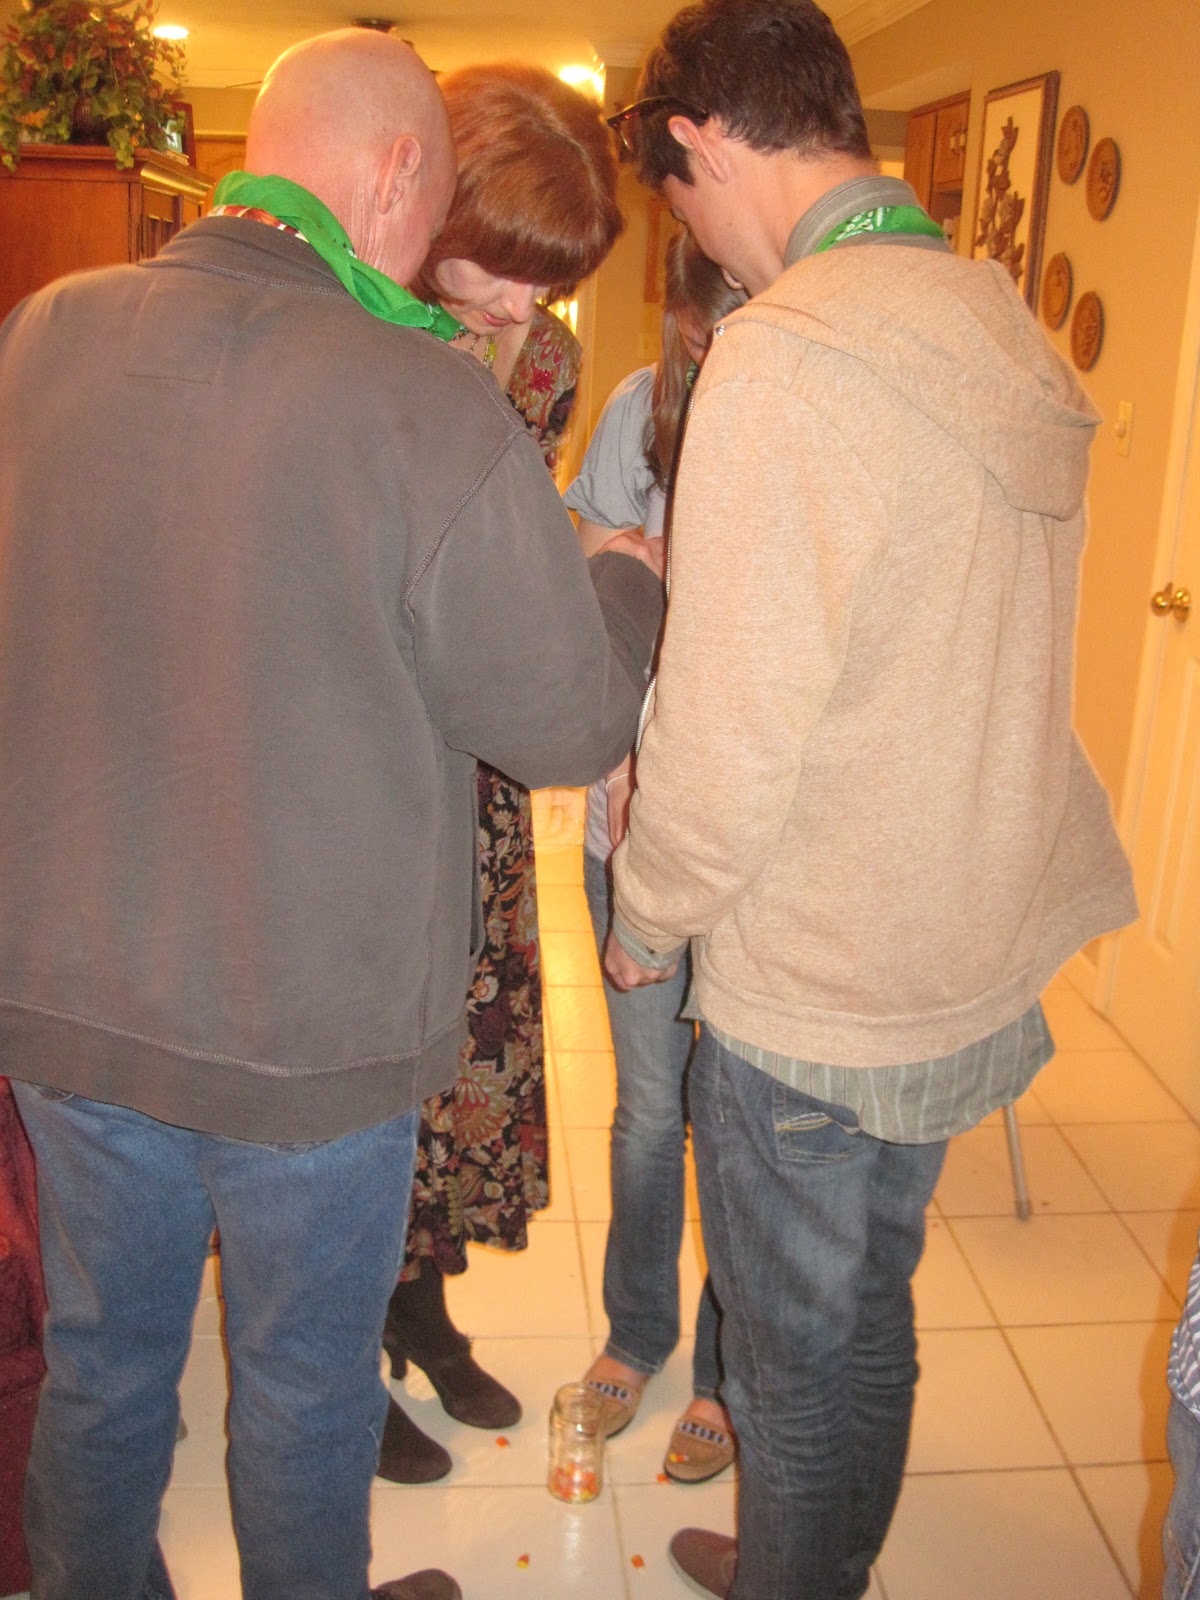
And A Candy Corn Dropping Round
I researched on the internet for weeks to find the perfect games. There were dozens out there to choose from, so it would be easy to tailor the games to your crowd.

STEP 3: HAVE FUN!
My mom knows how much effort I put into the Olympics and was so concerned that I'd be upset of it didn't go EXACTLY as I'd planned, but I just keep reassuring her that my goal was for everyone to have fun with it.
Since our Olympics followed Thanksgiving dinner, I designed the games around a Thanksgiving theme. All the team colors were fall colors, the games involved pumpkins and candy corns, and even the trophy was a oversized acorn on a pedestal. Building the even around the Thanksgiving theme helped to give me a direction while planning it and I believe helped the family get excited. Everyone had a really great time and it stopped us all from gorging on turkey and sleeping all afternoon.


Every olympics needs a scoreboard and our family's would have been incomplete without glitter. Before the games started, I made each team create their own nametag. I gave them their team colors and decorations, but they had to come up with a team name and decorate their nametag.
Each team also got their own bandanas in team colors. What's a team without a uniform?

My family, the Autobots, won. No bias whatsoever. I promise. My brother is so proud of the trophy.


The green team, the Plymouth Rockers, got second place.
The Martinators came in third, but not for a lack of team spirit or intimidation.

The last place team, the Proud Mamas, put up a good fight, but unfortunately the wee one from that team needed to rest, so the team ended up disbanding before team pictures were taken. But we still love them.


My little cousins helped keep score and they're still learning to write their numbers, the little dears.

And if all that olympic fun wasn't enough, here's a beautiful picture I took on a walk the day before Thanksgiving with my mom:

If you ever host your own family olympics, I'd love to hear about it. :)

I hope you all had a wonderful Thankgiving and a VERY MERRY CHRISTMAS!